Create an employee
When a new employee arrives in your company, you must create his employee file.
To create an employee who has not been recruited with the Recruitment module:
From the left side panel, click on
 > Create an employee.
Select the template you want to apply to the employee file and click on Select.
On some templates, the indication
 can be displayed: by hovering this indicator, you will see complementaries information added by your administrator to guide you on the template selection.
Fill in all mandatory fields.
When fields Surname and First name are filled in, a search for identical names is performed:
If there are no identical names in Core HR, the message No identical/similar names found is displayed.
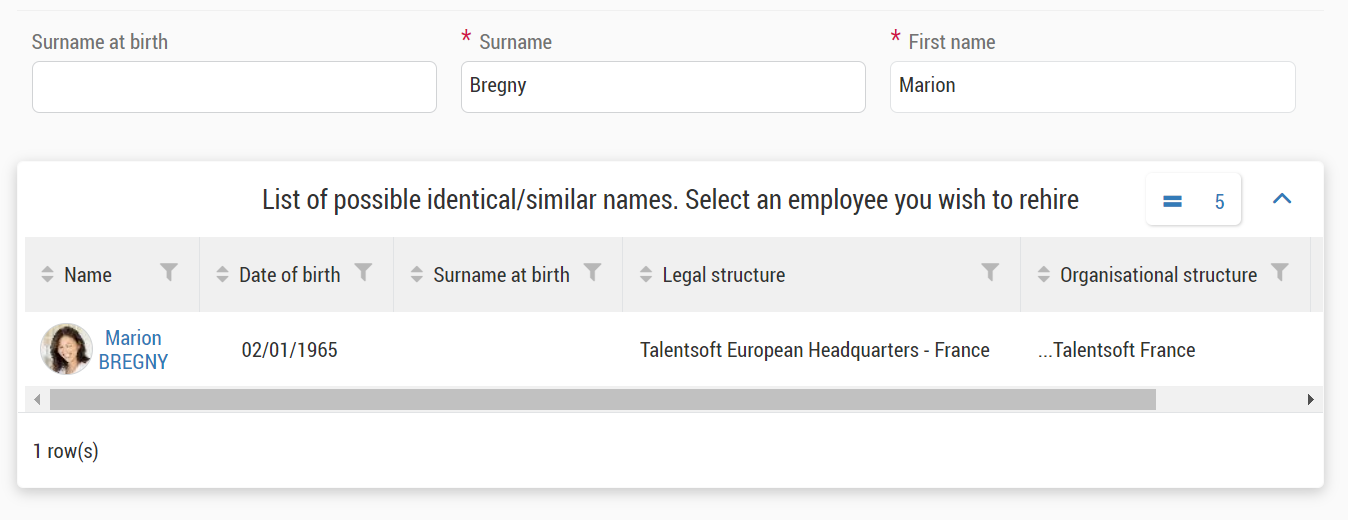
If there are identical names, the table List of possible identical/similar names is displayed:
If your employee does not match any of the identical names in the table, click on No, it’s a new employee.
If your employee matches one of the names on the table, you must rehire the employee, please check the section Rehiring an employee below.
On the top of the page, you can, either:
Click on Create and then on Validate on the appearing pop up.
Click on Save draft when the option is activated. The employee file in draft mode appears on the Onboarding in progress dashboard: you can finalise the hiring at another time.
When an employee decides to come back to work in your company, you must rehire him. But you already have all of his information in is old employee file.
It is possible to reactivate an employee file: this allows the employee to keep the same Employee ID as before and to be identified as the same person.
Please be aware that upon rehire, the Master template is applied to the employee file until the start date of the employee's current employment with your company. The employee's previous records are accessible only in data sets activated in the Master template.
To rehire an employee who has previously worked for your company:
From the left side panel, click on
> Create an employee.Select the template you want to apply to the employee file and click on Select.
On some templates, the indication
can be displayed: by hovering this indicator, you will see complementaries information added by your administrator to guide you on the template selection.Go directly to the Personal details section to fill in the fields Surname and First name.
The table List of possible identical/similar names is displayed with the name of the employee to be rehired.
Click on the employee's line: the Date of birth field is preset, and the Rehire button replaces the Create button at the top right of the page.
Please note: if you click on the employee's name, you will leave the creation page and be redirected to the employee's file.
Fill in all mandatory fields.
At the top of the page, you can either:
Click Rehire and then Confirm.
Click Save draft when the option is active. The employee's file in draft mode will then appear in the Onboarding in progress dashboard: you can finalise the hire at a later stage.
If your administrator has activated the corresponding right for your role, you can save an event form in draft mode.
This mode is available as soon as a certain number of mandatory fields have been filled in. Simply click on Save draft at the top right of the event form page.
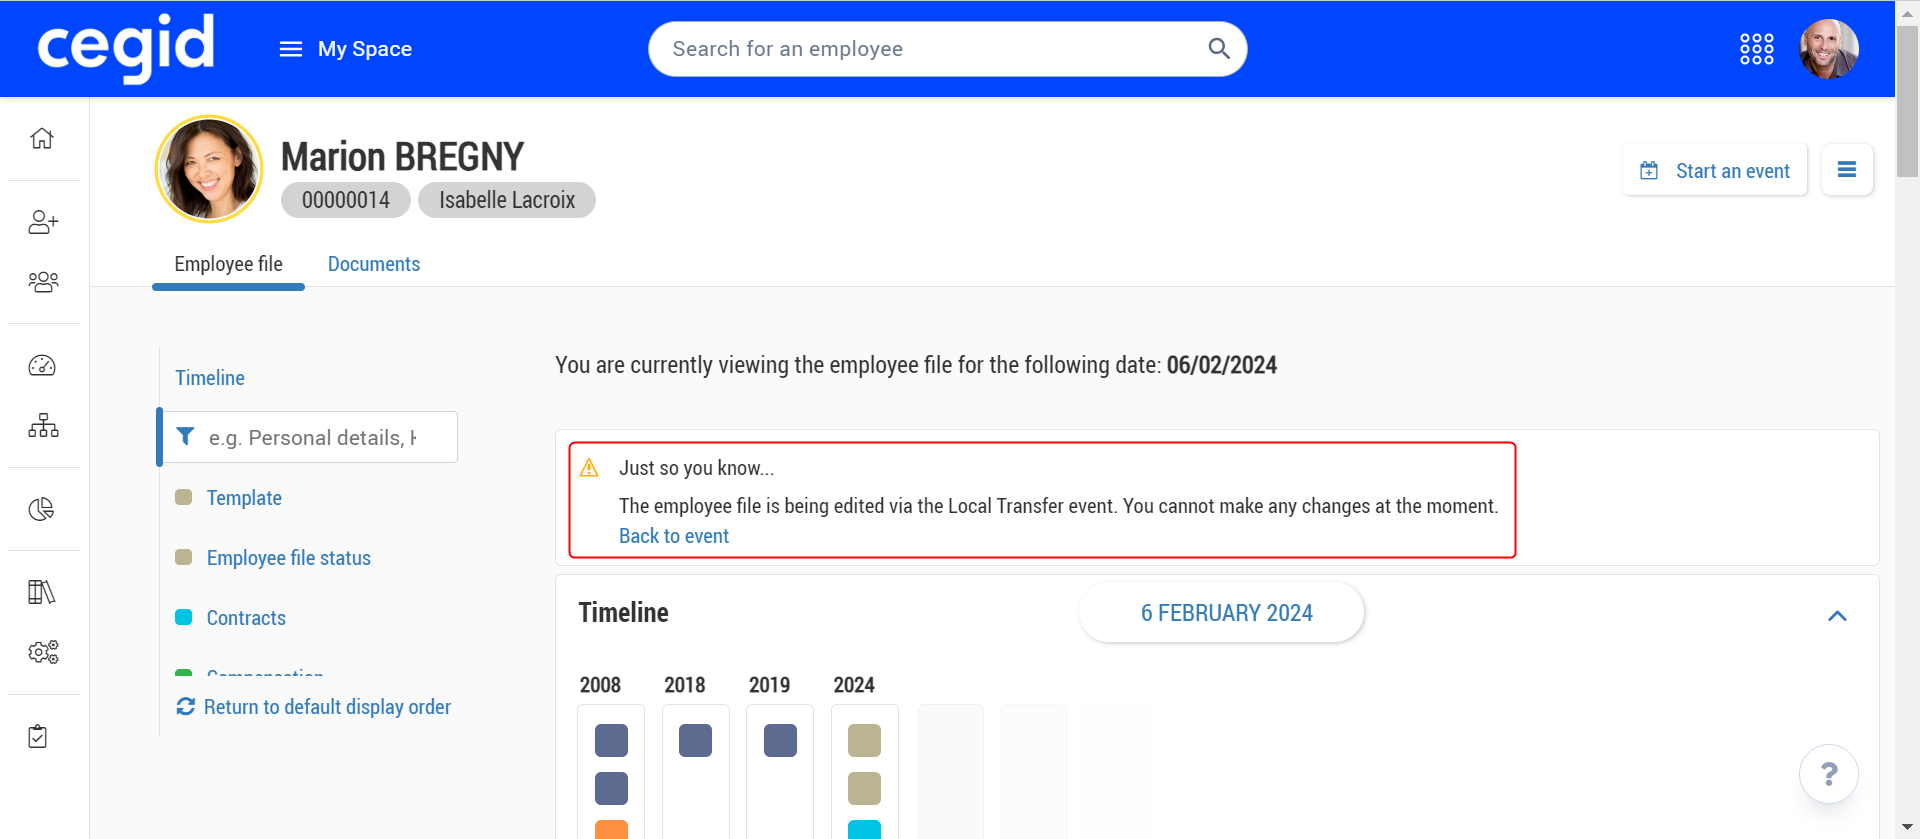
If an event form is in draft mode, the employee file is locked and cannot be modified. In the same way, no other employee event can be started or ended from a dashboard until the draft is validated.
When an event form has been saved in draft mode, this is indicated at the top of the employee file.
To unlock the employee file:
If you are responsible for the draft mode of an event form, the form must be re-saved in draft mode, validated or deleted.
If you are not responsible for draft mode, you must wait for the person responsible to take one of the three actions listed above.
In some cases, your administrator may assign you the right to override this block, in which case you can act as the person responsible for the draft.