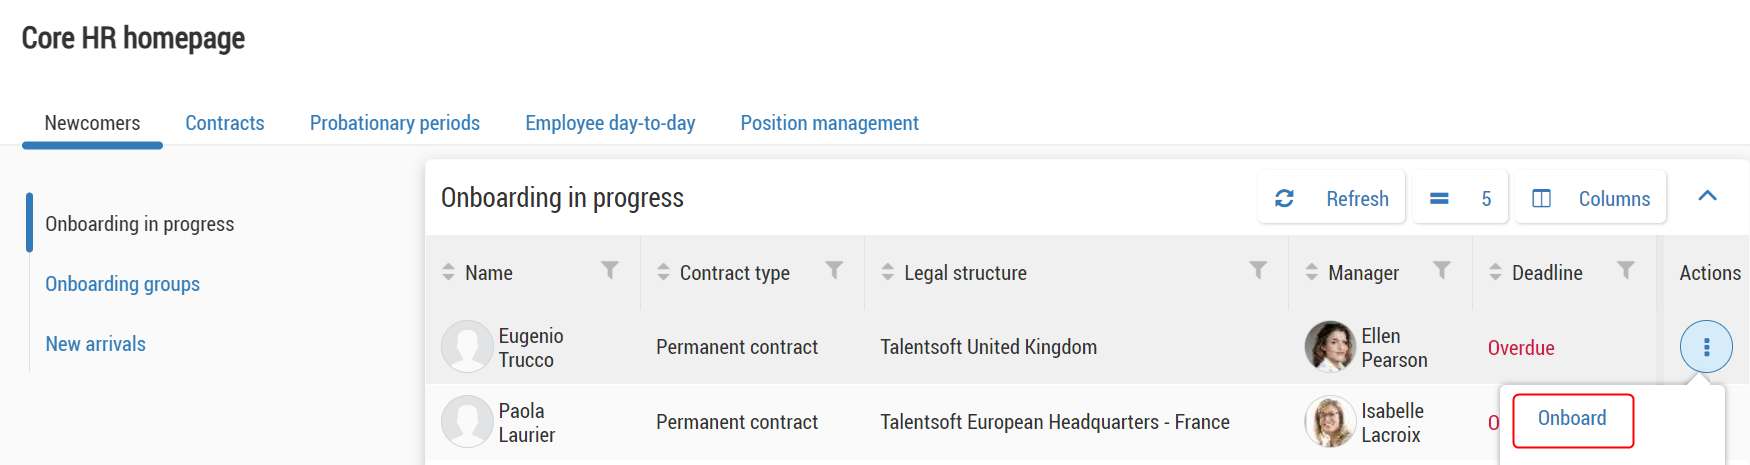
The homepage and the Newcomers tab
The Core HR homepage contains:
a search bar on the top;
follow-up tables separated in several tabs: Newcomers, Contracts, Probationary periods, Employee day-to-day and Position management;
a left side panel.
The tables display key information to HR staff about the employees in their scope and remind them about specific actions that need to be taken. This helps ensure that information on employees is kept up to date, HR processes are correctly triggered and handled, and that data quality is as high as possible.
The search bar in the Core HR module works differently to the search bar in other parts of Cegid HR.
It locates and displays employee file from the Core HR module, while the search bar in other parts of Cegid HR locates and displays an employee's talent profile (a single page centralising employee information from all Cegid HR).
The Core HR search bar is located in the middle of the navigation bar at the top of the page.

It searches all employees' files with the corresponding name, Employee ID or Username.
This includes current employees, employees who don't work in the company anymore or future employees whose file is already created. The search bar is filtered by the user's authorisations, therefore users can only search for employees that they are authorised to see.
To search for an active employee file, type three or more letters of the employee's first name, surname or username or type their employee ID. A drop-down list containing the corresponding employees is displayed, with the following information for each: surname/first name, employee ID, job, and line manager. Click the correct name from the drop-down list to go to the employee file.
Please note that futures employees whose files are not created yet will not appear on the search.
If the employee's name does not appear: search among the futures employees whose information has been saved as draft in the Onboarding in progress or Onboarding groups follow-up tables and create their employee file from here.
Contact your Administrator for help if you still cannot find them.
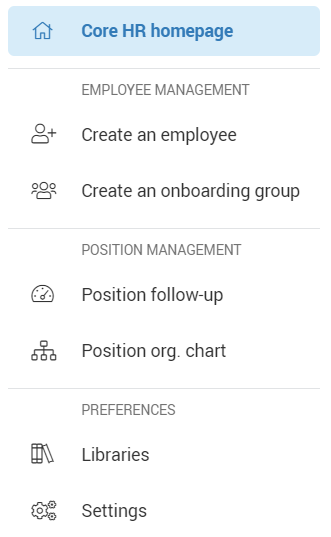
The left side panel is used to navigate in Core HR module.
By default, the panel is reduced and display only icons. Hover the icons on the left of the page to develop the panel and access a menu.
Each tab is composed the same way: the list of tables on the left and the tables on the right.
Follow-up tables have common characteristics:
their display can be customised;
they display employees depending on the authorisations and role of the user, as long as the setting made by your administrator;
some tables display data depending on specific criteria: hover the
 icon below a follow-up table to see these criteria;
the majority of tables have an Actions column, allowing you to do one or more actions.
In each table, the number of rows per page in the follow-up table, and the order and appearance of columns are modifiable to create a custom view for the logged-in user.
To choose the number of lines of each table:
Click on the
 icon on the top of the table.
Select the number of line per page.
The table update is immediate and is saved for your next log-in.
To configure displayed columns, click on Columns on the top of a table:
Click
 to pin a column to the left side of the follow-up table.
Click
 , or the name of a column, to select it for repositioning it in the list by drag and drop.
Click
 to hide a column from the follow-up table.
The icon displays with a strike through bar
 and the column name moves to the bottom of the list.
Also, a
 means that the column is locked in display mode by either your Administrator or Cegid HR and cannot be hidden.
Click Apply to save your new configuration.
On all follow-up tables, a button Export is available at the top right.
This button allows you to export table data in CSV format according to the following rules:
The exported data is that displayed in the follow-up table: the user's authorizations and rights are taken into account.
The column display settings (visibility and order) are retained.
The export format respects the culture parameters of the user who starts the export (separator in comma or semicolon format and language of the column headers).
The name of the exported file is in a default format: Export_[Followuptablename]_[YYYYMMDD][hhmmss].
Only the dashboard Onboarding groups does not have this button: it is necessary to click on  > Onboard to display the group's employees and export them.

This tab contains the follow-up tables you use to take actions on future employees in your company and monitor the names of those who have started employment within the last month.
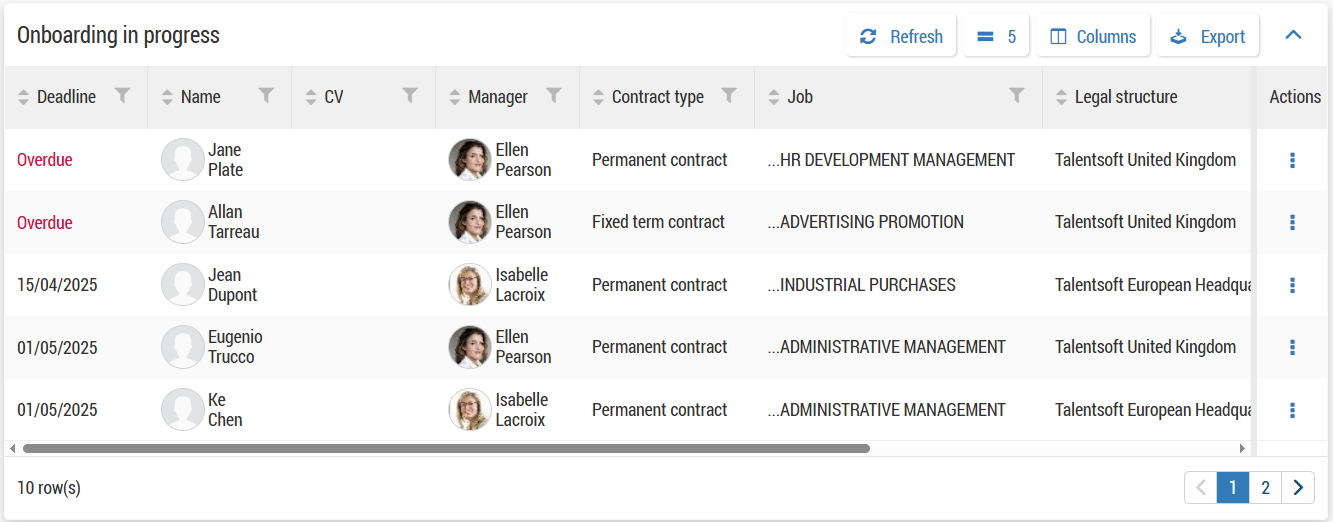
This table displays:
futures employees from the Recruiting module (with the Onboarding functionality) whose employee file has not been created yet;
employees whose employee file has been started but not finalised: the user has clicked on Save as draft to save his modifications.
From this table, you have the name of the future employee and information about his contract, as long as the planned date of hire: if this date is overdue, the indication Overdue is displayed.
From this table, you can:
Click on
> Onboard to create the employee file;Click on
> Delete to delete the future employee.
This dashboard brings together employees in draft mode (whose file creation has been started but not finalised) and employees recruited from the Recruiting module. In the latter case, the Onboard functionality in the Recruiting module is used to create the employee file in draft format in Core HR.
To create the employee, from this dashboard:
From the Actions column, click on
> Onboard.Some information are already filled in, as the template of the file, the Effective date for the hire or the fields Surname and First name.
Fill in all mandatory fields.
On the top of the page, you can, either:
Click on Create and then on Validate on the appearing pop up.
Click on Save draft when the option is activated. The employee file in draft mode appears on the Onboarding in progress dashboard: you can finalise the hiring at another time.
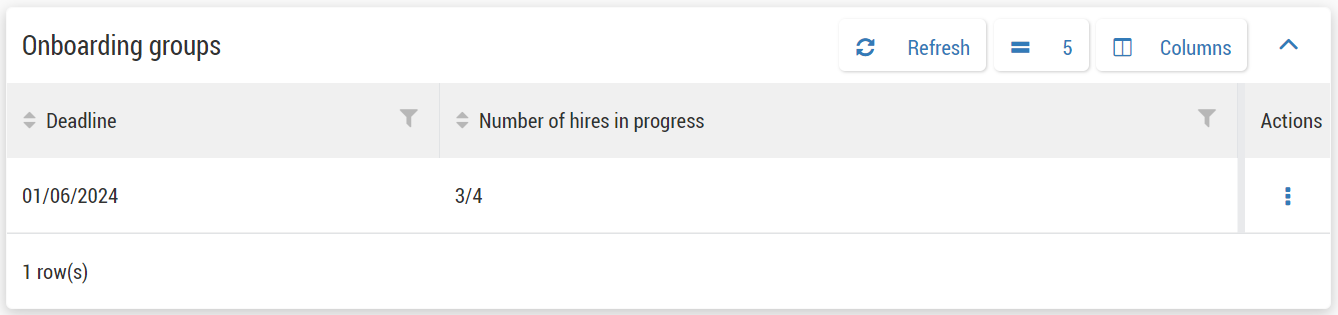
This table displays employees who belong to an onboarding group for which all employees files have not been created: the user has clicked on Save as draft to save his modifications.
From this table, you have the number of employees in this group and the number of employees already created on this group, as long as the planned date for hire: if this date is overdue, the indication Overdue is displayed.
From this table, you can:
Click on
> Onboard to create the onboarding group;Click on
> Delete to delete the onboarding group.
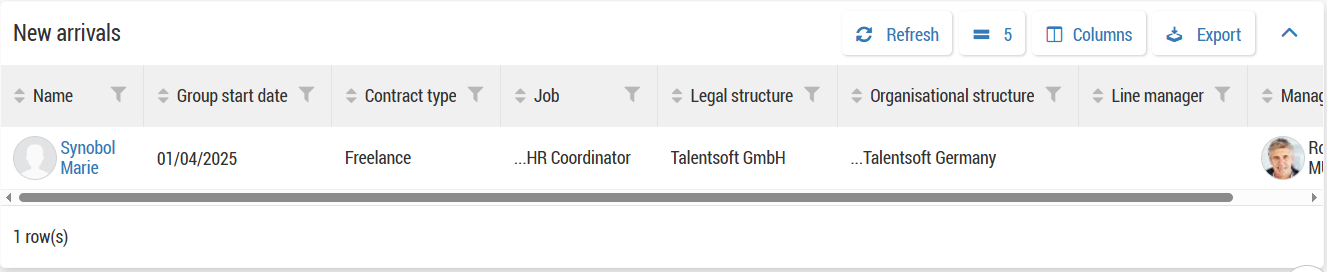
This table displays employees:
with a Current company start date of less than one month;
with an employee file created, but the start date in the company is in the future.
From this table, you have the name of the employee and information about his contract, as long as his entry date in the company.
You can click on the name of an employee to access his file.